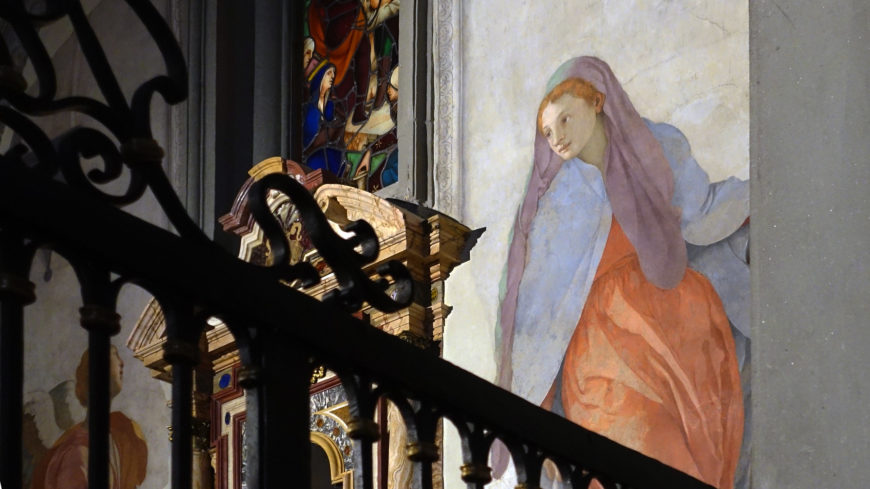
Why good photographs matter in art history
Quality high-resolution photographs of a work of art delivers more visual information and can advance research. Visually accurate images can help students better understand the work they are studying. In our experience, good photography increases student engagement. Many students have a sophisticated camera in their pocket, and are accustomed to viewing very high quality photographs as a matter of course.
Five easy ways to improve your image in Photoshop
With just a little knowledge, you can make your photographs much better.
1. Correct for lens distortion
Even the best lenses create spatial and color distortions. In general, the wider the lens, the more pronounced the distortion will be. Distortion can be minimized or exaggerated depending on the angle of view. Photoshop can correct distortion in many ways, here are two helpful methods:
Many better quality lenses are recognized by Photoshop and can be automatically corrected. In the dropdown menus: filter>lens correction, then select the camera type and the lens
Spatial distortion can be corrected manually
- In the dropdown menus: select>all
- In the dropdown menus: edit>transform>skew then drag anchor points as needed
- In the dropdown menus: edit>transform>warp (be careful with this one)
2. Correct the color, brightness, etc.
Color is a complex problem. We recognize that the colors of a work of art are subtly responsive to many variables including artificial lighting, sunlight, weather, colors surrounding the object, etc. Color is also impacted by the choice of lens, camera settings, and angles of view, etc. Worse, color is often badly skewed by the screens and projectors that display images. Digital cameras also favor yellow over blue. Despite all this, we strive to achieve the greatest color fidelity possible.
Photoshop’s automatic settings are often remarkably successful. Nevertheless, these options can fail, so be ready to undo an action by clicking the “command” and “z” keys simultaneously.
- In the dropdown menus: image>auto color
- In the dropdown menus: image>auto contrast
- In the dropdown menus: image>auto tone
Manual adjustments can be made as well, explore the following settings:
- In the dropdown menus: image>adjustments>brightness/contrast
- In the dropdown menus: image>adjustments>vibrance
- In the dropdown menus: image>adjustments>hue/saturation
- In the dropdown menus: image>adjustments>color balance
3. Remove a distraction
- In the tool menus: rectangular marquee tool>click shift+delete>select content-aware
- In the tool menus: clone stamp tool (use your hard bracket keys to size the stamp tool)
4. Clean up dust and scratches
- In the tool menus: spot healing brush tool (size with the hard bracket keys)
- In the tool menus: clone stamp tool (size with the hard bracket keys)
5. Crop the image
- In the tool menus: crop tool
- In the dropdown menus: ratio
What can go wrong?
Plenty, but it’s easy to fix. Go slowly, watch carefully, and undo (command+z).
Share your images
Freely available high quality images support teachers and their students, give back with Creative Commons!
FAQs
Want a sharp image that isn’t too big?
- keep the resolution high (300 pixels/inch)
- decrease the dimensions usually no more than 8 inches across
- this will limit the image size and result in a sharp image
Should I set my camera to shoot jpg or raw files?
- jpgs are easier for beginners
- jpgs files are compressed and cannot be adjusted as readily as raw files
- raw files give you more control, but are more time consuming to process
How do I blur a visitor’s face to respect their privacy?
In the tool menus: blur tool (size with the hard bracket keys)
What are layers in Photoshop?
Layers allow you to isolate changes so you can turn each on and off
Is Photoshop expensive? Can I use something else?
There are many good inexpensive or free tools that edit photos.
Photoshop costs $9.99 per month with an academic discount.
What is RGB and CMYK, and do I need to know?
Use RGB for the screens, CMYK for printing


