At Smarthistory, we use either GarageBand or Audacity to edit audio. They are both good tools, but they are a little bit different from each other. What follows is a very quick overview of the technical side of editing Smarthistory-style audio in Audacity.
Before you start, you may want to watch our GarageBand tutorial so that you can learn about our approach to editing audio in general.
Jump to
- How Audacity works
- Getting started
- Essential tools
- Playing and cutting audio
- Moving audio around
- Exporting your edited file
How Audacity works
Audacity is a free audio editing tool that is compatible with Mac OS, Windows, and Linux. Audacity is different from GarageBand in that it is a “lossy” editing system. This means that once you delete something, it is gone—if you want to get it back, you’ll need to either use the undo function, or re-import your original file and grab the audio that you deleted.
Also unlike GarageBand, editing Audacity does not depend on creating discrete “regions” of audio that you move around with your mouse (though, if needed, you can move sections of audio using the Time-Shift tool).
For the most part, you will be editing your audio in Audacity by first selecting parts of the audio waveform that you want to delete, and then simply hitting the delete key.
Getting started
It’s easy to download and install Audacity. Once you have done this, you can simply open your raw audio file in Audacity itself. You can also do this using File→Import→Audio. If you have multiple audio files to edit together, you can use File→Import→Audio and select them all. Audacity will import them onto separate tracks.
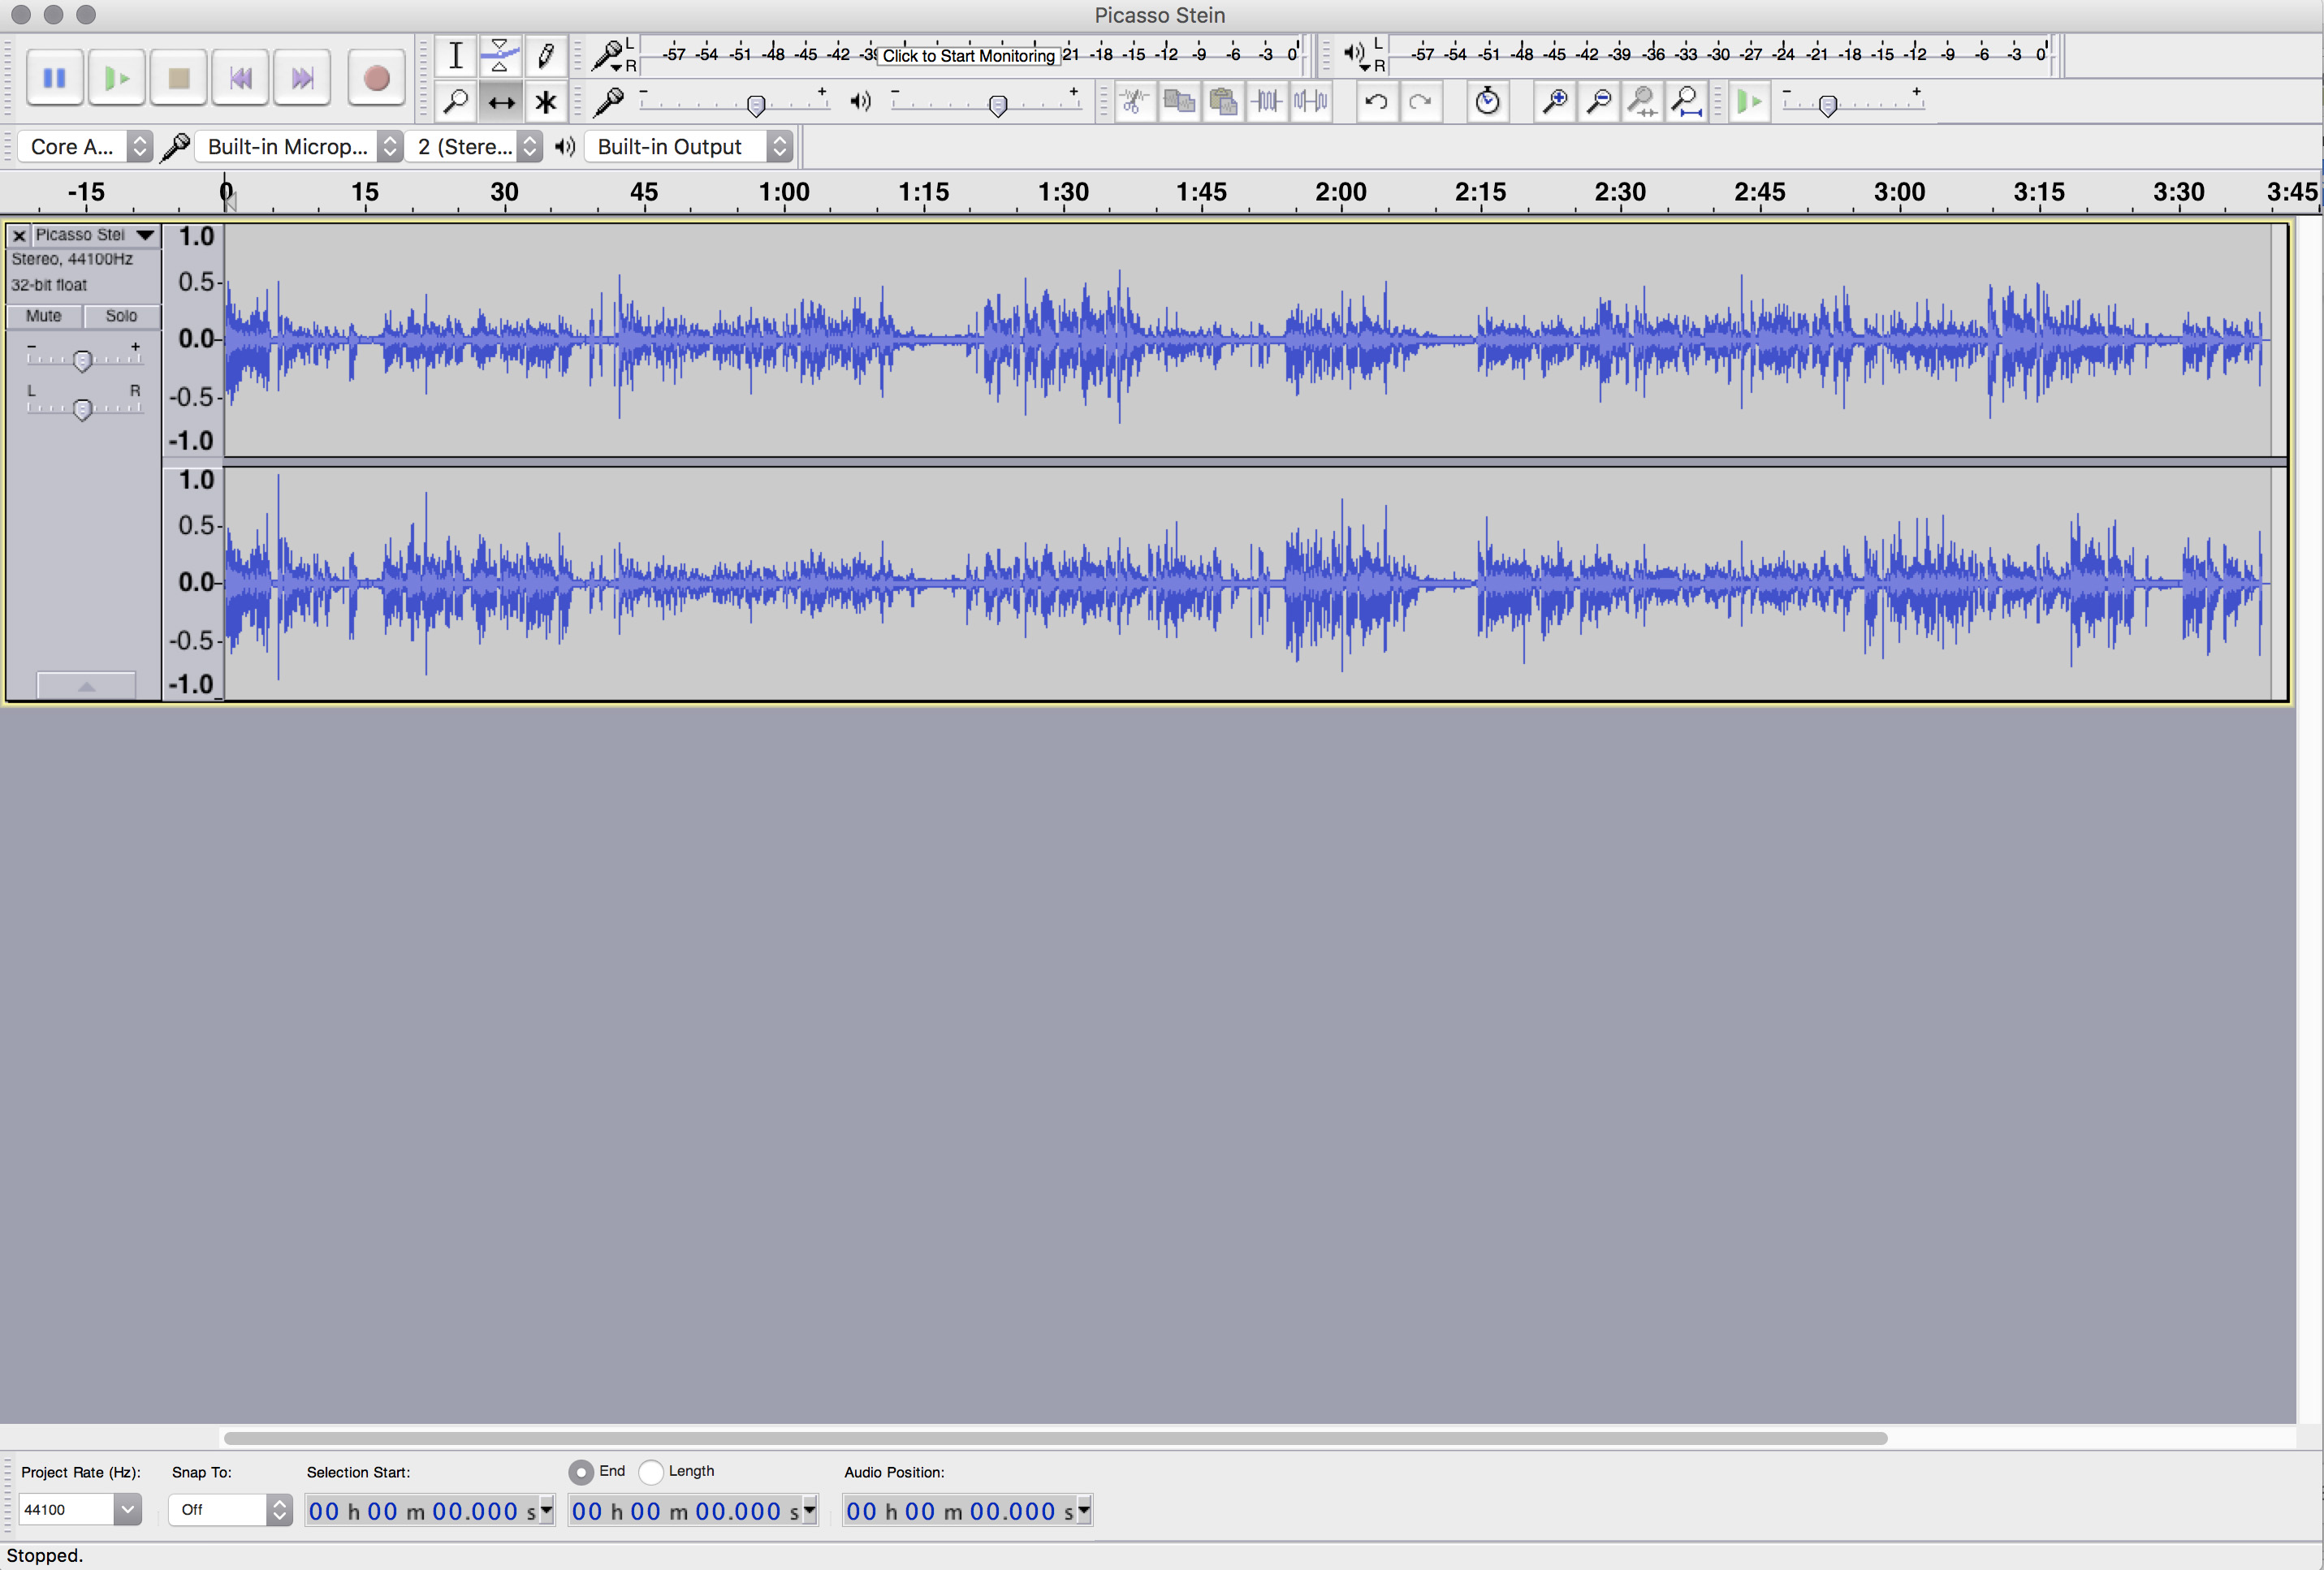
An imported audio file
Audacity can import most common audio file types, like WAV, AIFF, and MP3. If your audio recorder outputs a different audio format, you can install plugins for Audacity that will allow you to import them, or you can use a file converter like Zamzar to convert them into a more common format.
Tip: Before you start editing, the first thing you should do is save your project.
Make sure you save regularly during the process of editing! The editing you do in Audacity will not affect the original, raw source file. Audacity saves in its own proprietary format, and you’ll need to export your edited audio to a new file when you’re done.
Essential tools
The tools you’ll use the most for this are the selection tool (which looks like a cursor) and the zoom tools (which each look like a magnifying glass with a plus or a minus). It might help you to learn the keyboard shortcuts for zooming in and out (you can see these in the “View” menu), as you’ll need to do this a lot.
As we discussed in our GarageBand tutorial, you will want to zoom in so that you can see the sound signature for each word clearly.

The Audacity toolbar with the selection tool (left) and zoom tools (right)
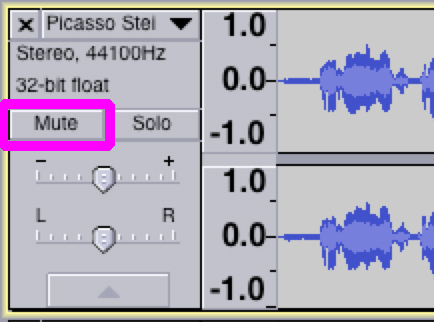
The mute and solo buttons on a track
If you happen to have imported multiple audio files and they are on different tracks, you can mute some of them so that you can work on one at a time. If you prefer, you can instead just “solo” the track you’re working on—this automatically mutes the other tracks.
Playing and cutting audio
To play from a particular point in the audio, use the selection tool to click on your desired start point. Then hit the spacebar. You can hit the spacebar again to stop.

Click with the selection tool to set the playhead wherever you want it to start playing in your audio file.
Once you have found a word, sound, or section that you want to cut out, use the selection tool and click and drag to highlight the desired area to remove.
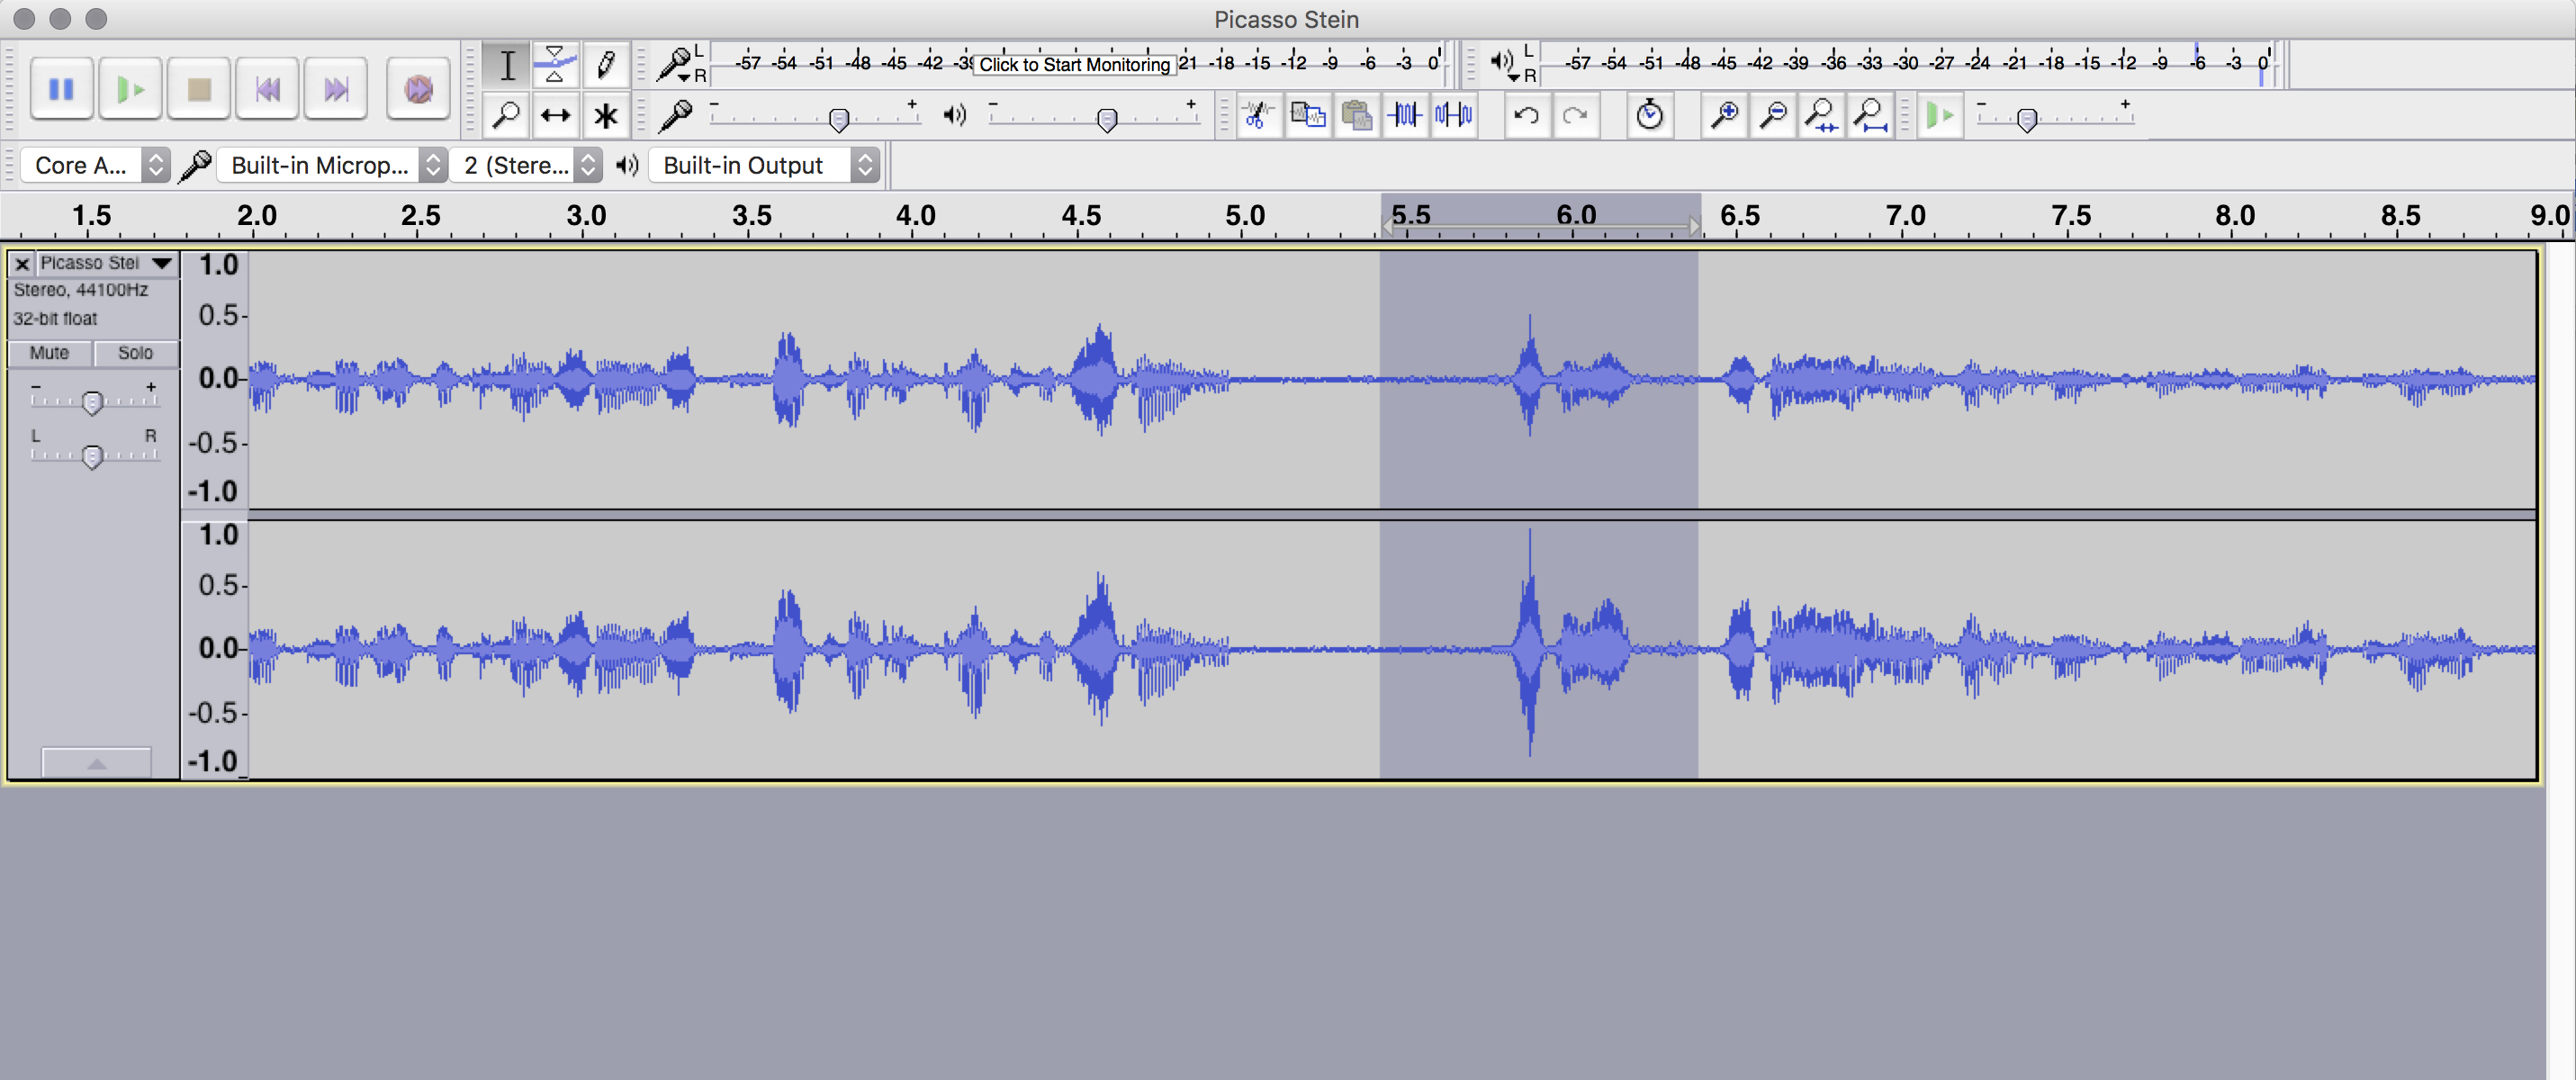
The selected area will appear darker grey.
Tips: if you hit the spacebar when an area is highlighted, Audacity will only play the selection, so you can check whether you’ve selected the right thing to cut. Conversely, pressing “c” on the keyboard will play the audio before and after your selection, giving you a preview of your edit.
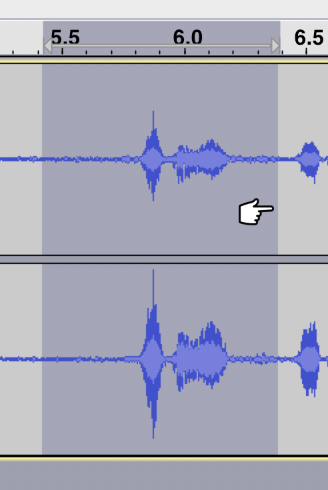
Adjusting your selection
You can adjust your highlighted selection by putting your cursor over the start or end points of the selected area. It will turn into an icon that looks like a hand pointing a finger. Click and drag to adjust your selection as desired.
Once you’re happy with your selection, simply hit delete. Audacity will remove the selection and move the audio after the deleted selection back, so that it is contiguous with the previous section.
You should now play back your edited audio and make sure your edit sounds right. If not, hit “undo” (in the Edit menu, or by pressing command+z or ctrl+z) and adjust your selection again. Once you’ve deleted a section, there is no other way to get it back without using the undo function or by re-importing the original audio file (this is what we mean by “lossy” editing). Audacity allows for multiple undos.
Tip: If you have a section of audio that you want to move or that you are unsure you want to completely delete, you can cut and paste it onto a new track. Mute that track and come back to it later. You can make a new track by selecting Track→Add New→Stereo Track.
Moving audio around
If you need to move pieces of audio around, you can do this in one of two ways.
The simplest is by cutting and pasting your desired section. Audacity works much like a word processor: if you cut (Edit→Cut, command+x, or ctrl+x) a selection, Audacity will remove it, moving the following section back so that it is contiguous with what preceded it—just the same way that a word processor might remove words if you delete them. The selection you cut is now being held on the computer’s clipboard. You can then click on a different place in the audio and paste your selection there. Audacity will insert that audio into the waveform (again, much like pasting words into a sentence in a word processor), pushing forward whatever was there—it will not paste over any existing audio.
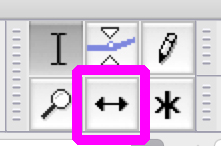
The time-shift tool
You can also move whole pieces of audio around with your mouse using the time-shift tool. This is sometimes useful if you have multiple audio files that you need to join together: you can use the time-shift tool to move them from one track to another, or to bring them together on the timeline. (If you need to split up your audio file in order to move parts of it around, the Edit→Split function can be helpful.) The best way to understand how these functions work is to play around with them yourself.
The Audacity manual has extensive documentation on the other tools, functions, and filters available in this robust program.
Exporting audio
When you are happy with your edit, use File→Export to export your audio file.
Tip: if you have multiple tracks in your project, Audacity will export all of them to a single file. To export only one track, double-click the track you want to export to highlight all of it (it will turn darker grey) and select File→Export Selected Audio.
Now that you’ve successfully edited your audio, you may want to learn how to edit your video.